Teach stopping before you teach going
Updated 6 September 2026
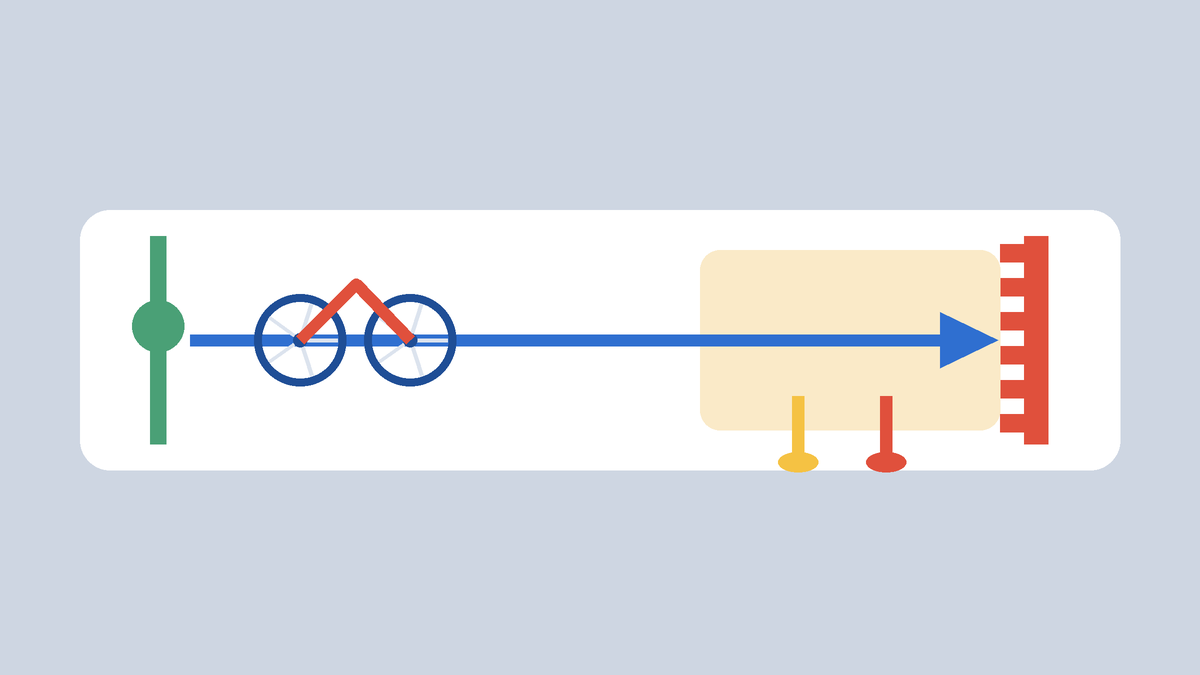
Almost every teaching sequence starts with getting moving, and stopping arrives later as an afterthought. That order is backwards. Confidence on a bike comes from knowing you can end the ride whenever you want, and a child who does not have that certainty rides tense, refuses slopes and puts a foot down at the first surprise.
Why it comes first
There is also a practical reason. A child who cannot stop deliberately will stop by falling over or by running into something, and both of those are exactly the experiences that end an afternoon and sometimes a month.
Stopping is easier to learn than starting, needs no balance skill at walking pace, and can be practised entirely without pedals. There is no reason to leave it until later.
Five drills, in order
- Standing squeeze. Bike stationary, child seated with feet down. Squeeze both levers, hold, release. Ten repetitions, just so the hands learn how much force the levers need.
- Walking stop. Child walks the bike along on foot while holding the levers, and stops it with the brakes rather than with their legs. This separates the hand action from everything else.
- Rolling stop, feet down. Seated, pushing along with feet, then squeeze and let the bike come to rest. Repeat until it looks automatic.
- Stop on a line. Mark a line and ask the child to stop with the front wheel on it. Start from three metres away, then five, then ten. This is the drill that teaches braking distance, which is the part children consistently misjudge.
- Stop on a shout. Rolling along, you say stop at an unpredictable moment. This is the version that transfers to a real street, and it should only come once the previous four are solid.
Squeeze, do not grab
Ask for a slow squeeze that gets firmer, not a sudden grab. Grabbing the front brake alone at speed pitches the bike forward, and children reach for the front lever first because it is usually the stronger one.
If a child keeps grabbing, go back to drill one and practise a three-second squeeze on the spot.
Both brakes, evenly
Most children default to one hand. Name the two brakes plainly, check which lever operates which wheel on that particular bike, and give them a reason: the rear brake settles the bike, the front one does most of the actual slowing, and together they stop it in about half the distance of either alone.
For very young children, or where hand strength is still developing, teaching the rear brake alone first is entirely reasonable. Add the front one when the rear is automatic.
Braking distance, made visible
Children reliably think they can stop in less space than they can, and no amount of telling them changes it. Showing them does. Mark where they actually stopped from three metres, then from ten, and let them see the two marks.
Repeat the same drill on a slight downhill and on wet ground. The marks move a long way, and that is the lesson: braking distance is not a fixed property of the bike, it changes with slope and surface.
Where it pays off
A child who has done these drills approaches a junction slowing rather than freezing, and rides down a slight slope instead of refusing it. The drills take perhaps forty minutes spread over two sessions, and they change how the whole first year goes.