Setting up brakes a small hand can actually pull
Updated 6 September 2026
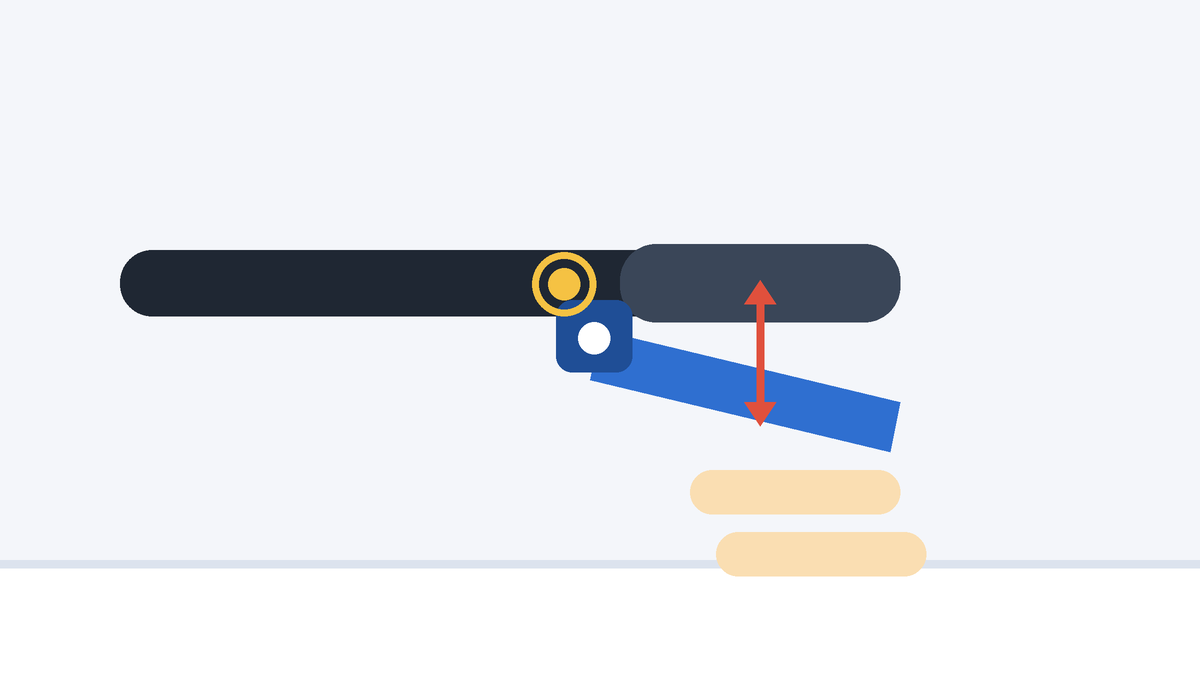
A child who cannot reach the brake lever comfortably rides with fingers already curled around it, hovering, or does not use it at all and puts a foot down instead. Both are worth fixing, and both usually come down to two screws that nobody touched in the shop.
Reach: the screw that matters most
Reach is the distance from the handlebar grip to the lever blade. Almost every modern lever has a reach adjustment: a small screw, usually 2 or 2.5 mm hex, on the lever body near where the blade pivots. Turning it in brings the blade closer to the bar.
Set it so the child can wrap their index and middle fingers over the blade with the hand still holding the grip. If they have to stretch or shift their grip to reach, it is too far out. On very small hands, wind the screw all the way in and check whether the lever still has enough travel to brake fully before it touches the grip.
Cheaper bikes sometimes have levers with no reach screw at all. Short-reach children's levers are an inexpensive replacement and are the single best upgrade on most supermarket bikes.
Lever angle
Loosen the clamp bolt holding the lever to the bar and rotate it so that the child's forearm, wrist and finger form a straight line when they pull. On a small bike with a fairly upright riding position, this is usually somewhere between horizontal and about thirty degrees down.
The common mistake is copying an adult mountain bike, where levers point steeply downward. A child sitting upright reaches down at an awkward angle and loses most of their pulling strength.
Testing pulling strength, not just reach
Hold the bike still, ask the child to squeeze the lever as hard as they can, and try to push the bike forward. If it rolls, the setup is not working yet.
The fix is usually reach, then cable tension, then finally pad position. Work in that order.
Cable tension
The barrel adjuster is the knurled cylinder where the cable enters the lever or the brake. Screwing it outward takes up slack and brings the pads closer to the rim, so the brake bites earlier in the lever's travel.
Aim for the brake to be fully on when the lever is about halfway to the grip. Too tight and the pads rub constantly; too loose and the lever hits the grip before the brake does anything, which is the most common state of a second-hand children's bike.
Which brake to teach first
The rear brake, on the right lever in most countries and on the left in the UK and a few others. Check which is which by lifting the back wheel and squeezing each lever in turn, and tell the child which one is which in plain words.
Teach both eventually, squeezed evenly and progressively rather than grabbed. Most children default to one hand, so it is worth naming it as a skill and practising at walking pace for a few minutes rather than assuming it will happen on its own.
Coaster brakes
Many first bikes have a coaster brake: pedalling backwards stops the bike. It works well for very young children because it needs no hand strength at all, and it works badly on a slope because a stopped child cannot reposition the pedals to start again.
If a bike has both a coaster brake and hand brakes, set the hand brakes up properly anyway. The child will move to a bike without a coaster brake eventually, and it is easier to arrive already knowing how the levers feel.